3.Get Started
Welcome to iYoulike System. We will help you quickly get started with iYoulike System in 30 minutes.
Table of contents
1
Multi-currency settings
2
Company information settings
3
Warehouse settings
4
System settings
5
Add user account and permission settings
6
Enter or Import items
7
Enter or Import customers
8
Enter or Import suppliers
9
Purchase Order
10
Purchase Receipt
11
Sales Orders
12
Invoice
13
View inventory Qty & cost
14
Customized Printing Template
15
Payment Receipt & Payment Voucher
16
Receivables and Payables
Table of contents
Multi-currency settings
Company information settings
Warehouse settings
System settings
Add user account and permission settings
Enter or Import items
Enter or Import customers
Enter or Import suppliers
Purchase Order
Purchase Receipt
Sales Orders
Invoice
View inventory Qty & cost
Customized Printing Template
Payment Receipt & Payment Voucher
Receivables and Payables
1.Multi-currency settings
Set the base currency and the common currencies required for sales and purchases.
[Settings]-[Currency]
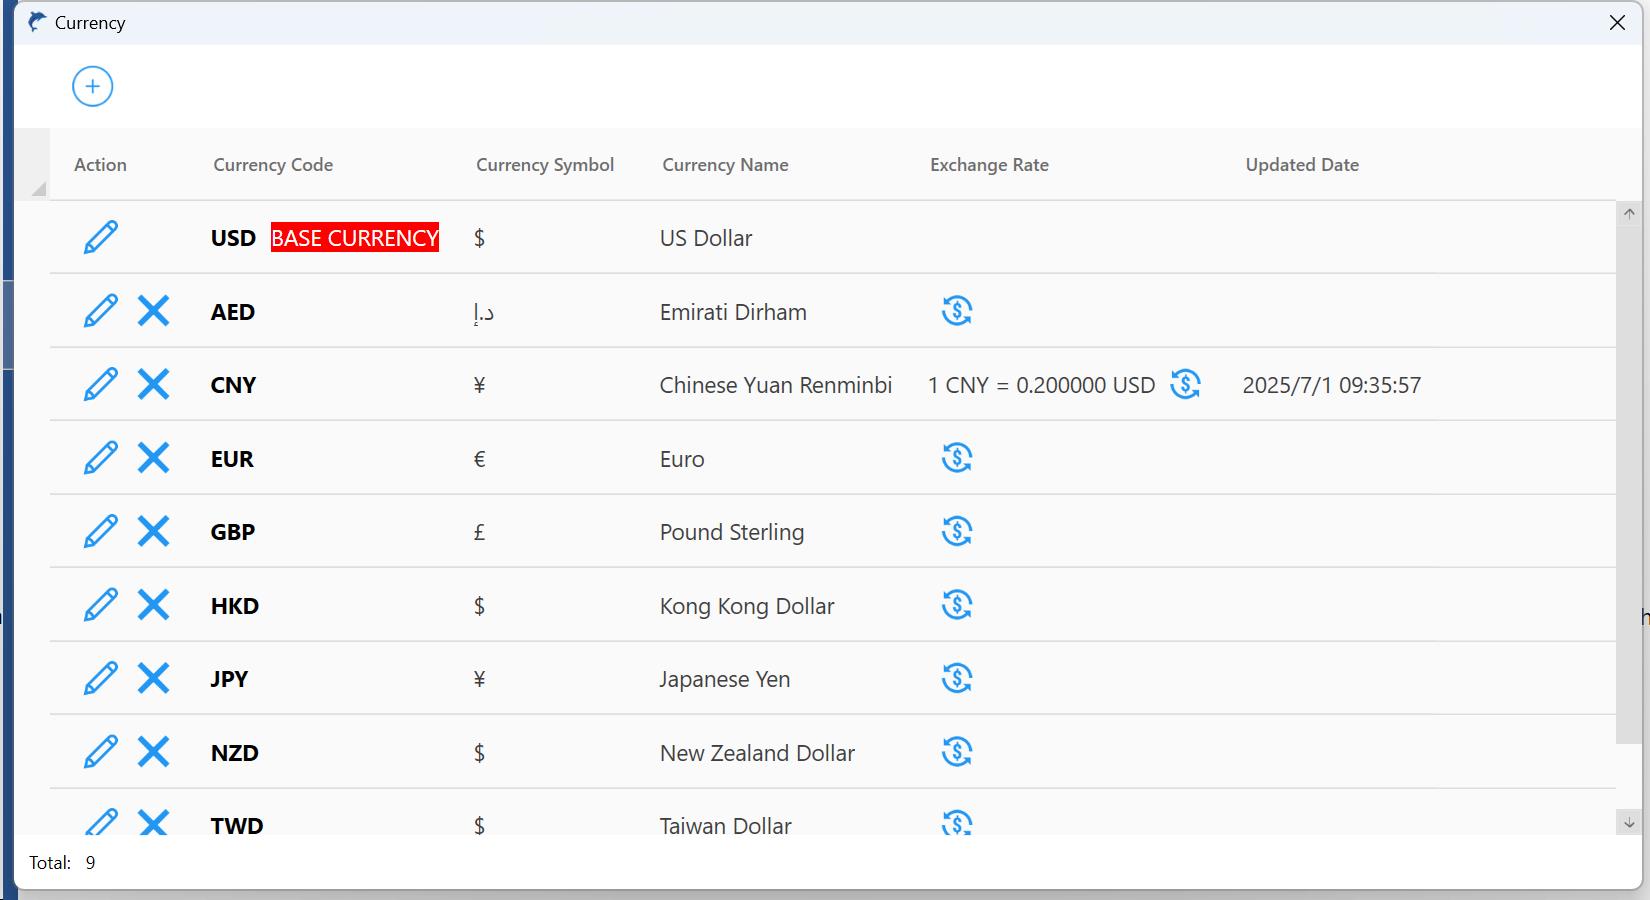
Basic currency: It is the currency unit used when entering sales prices, and is also the unified currency unit for system reports and cost calculations. Once a transaction occurs, the basic currency cannot be modified.
You can add the currency you need.
2.Company information settings
[SETTINGS]-[Company]

This company information will be automatically applied to printed documents.
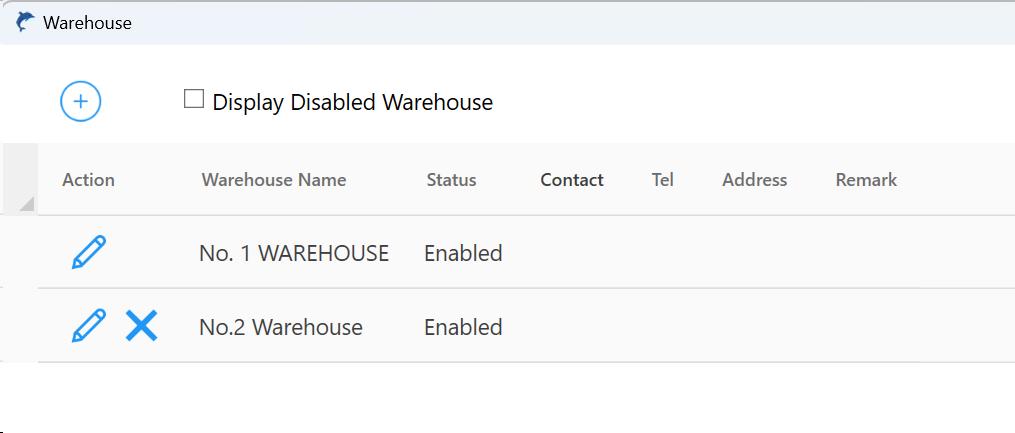
3.Warehouse settings
Supports multiple warehouses, no limit on the number of warehouses.
[SETTINGS]-[Warehouse]
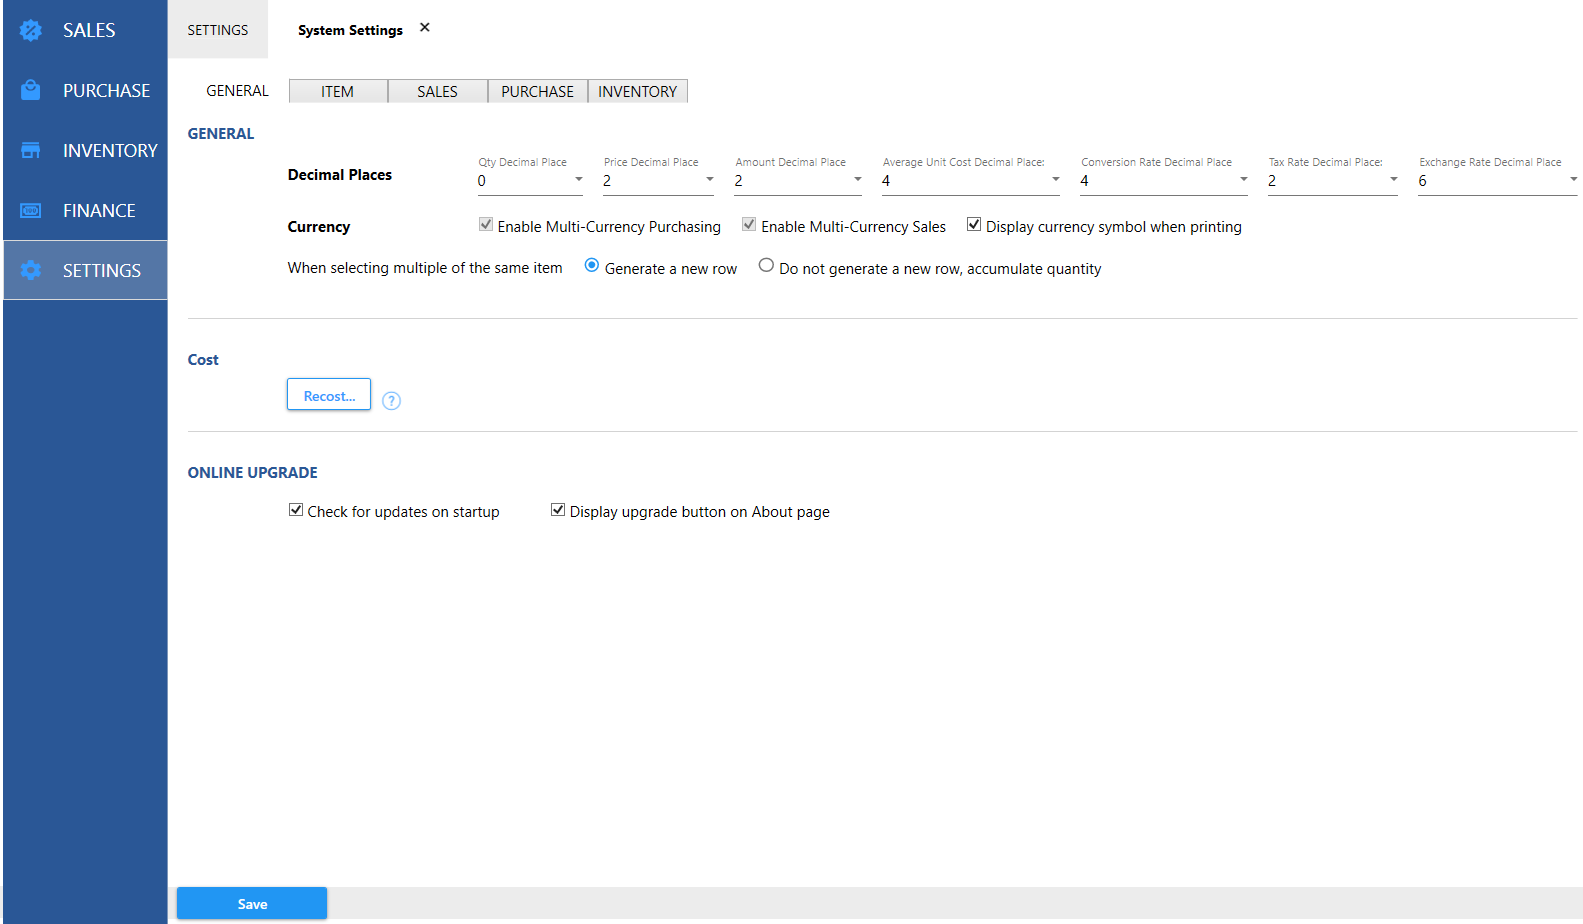
4.System Settings
In order to better match your needs, you can set up the system, such as item custom fields, custom price types, tax rates, etc.
[SETTINGS]-[System Settings]
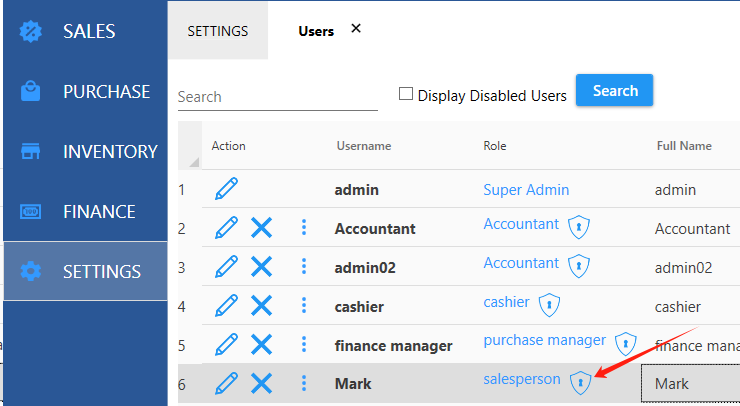
5.Add user and permission settings
After logging in with an administrator account, you can add users and set user permissions.
[SETTINGS]-[Users]
Add New User:
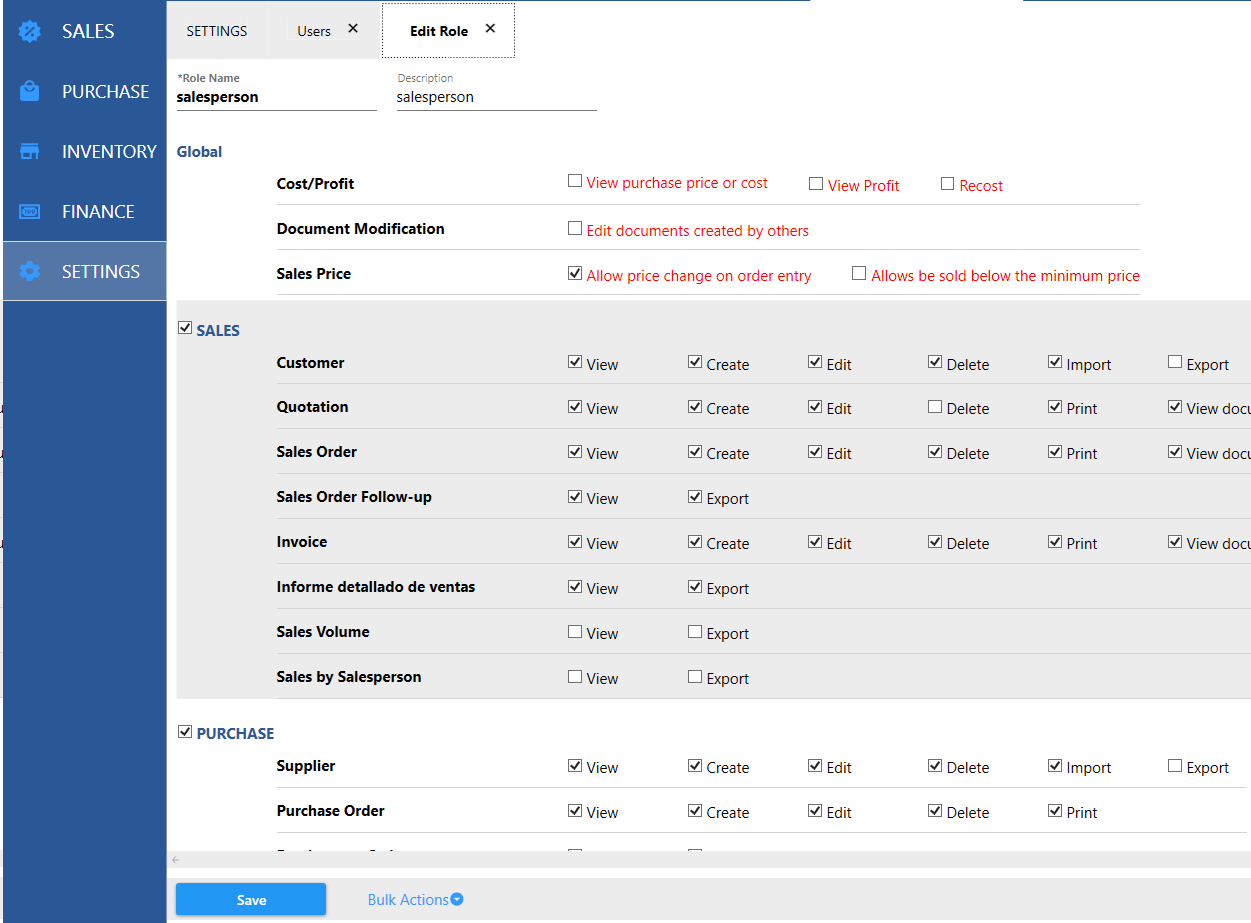
Permission settings:
Install iYoulike on other computers, and then log in to iYoulike:
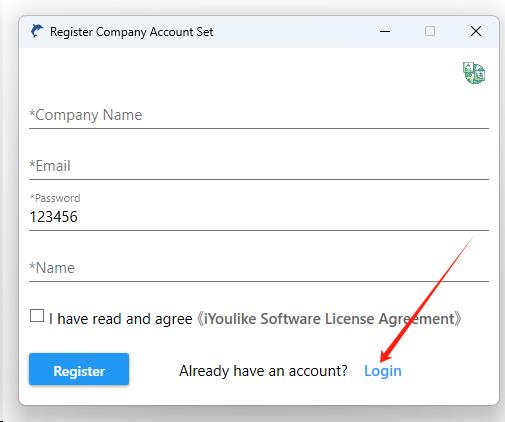
Note: After installing iYoulike on other computers, do not register an account set again. Click button [log in] . This will allow other
users to use the same account set and see the same data.
6. Enter or Import items
[Inventory]-[Items]
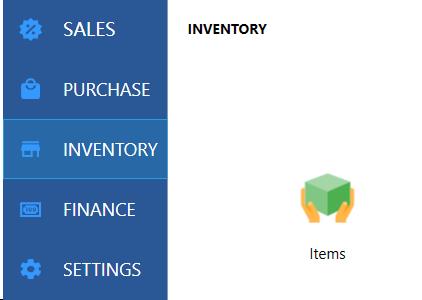
Add New Item: 
Import items: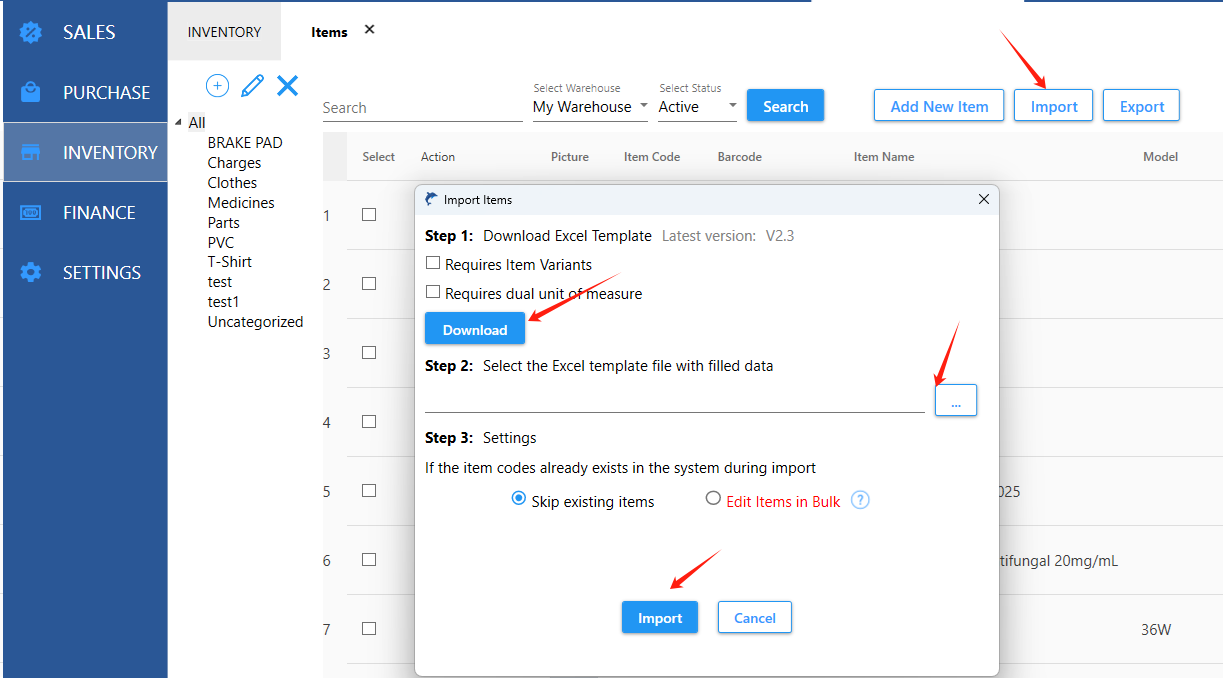
Follow the steps on the interface.
7.Enter or Import customers
Customers can be entered one by one or imported in batches using Excel
[SALES]-[Customers]
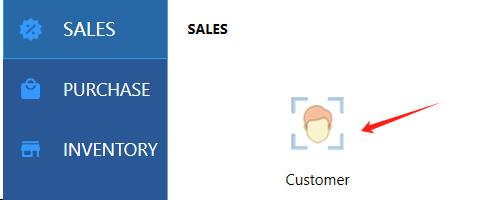
New Customer:

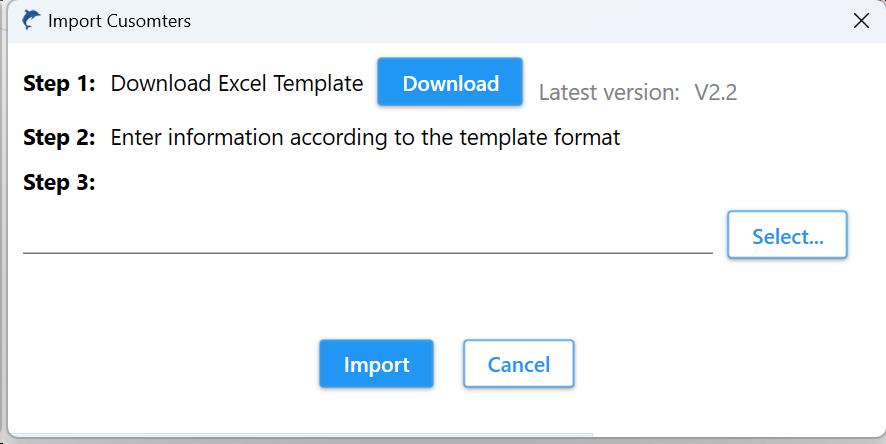
Import customers:
8.Enter or Import suppliers
Suppliers can be entered one by one or imported in batches via Excel.
[PURCHASE]-[Suppliers]

9.Purchase Order
To order from a supplier, you need to create a purchase order
[PURCHASE]-[Purchase Order]
You can export to Excel, which can be saved as PDF, and then send the PDF to suppliers for ordering.
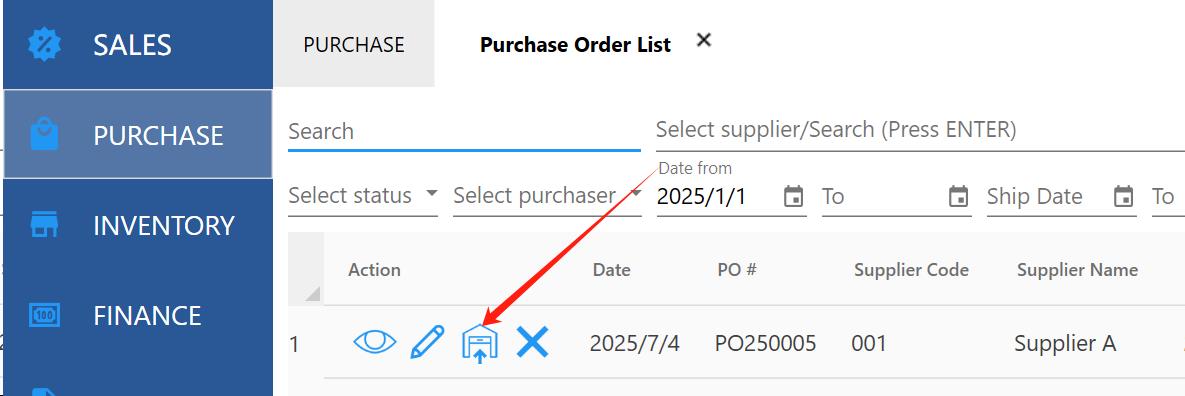
10.Purchase Receipt
After receiving the goods from the supplier, a purchase receipt needs to be issued. Once the purchase receipt is issued, the inventory will increase.
[PURCHASE]-[Purchase Receipt]
If you have already created a purchase order before, you can generate a Purchase Receipt from Purchase Order.
[PURCHASE]-[Purchase Order List]
11.Sales Orders
When there is no stock, customers need to order the goods, which require a certain delivery date, and then a sales order needs to be created. Creating a sales order does not reduce inventory.
[SALES]-[Sales Order]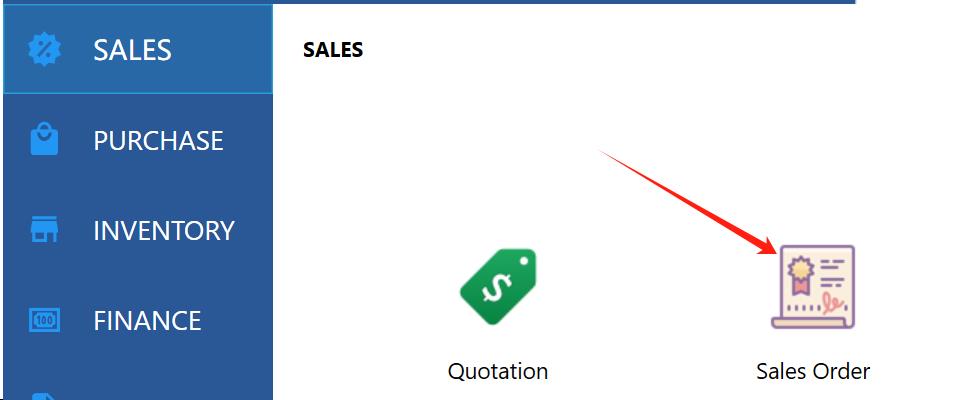
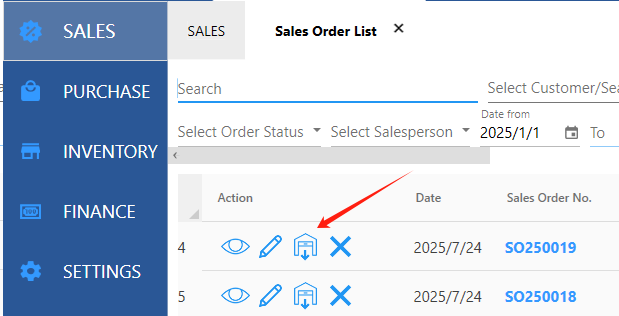
12.Invoice
An invoice is required when the goods are shipped or sold. Once an invoice is issued, the inventory will be reduced.
[SALES]-[Invoice]

If you have created a sales order before, you can generate an invoice with one click in Sales Order List.
[SALES]-[Sales Order List]
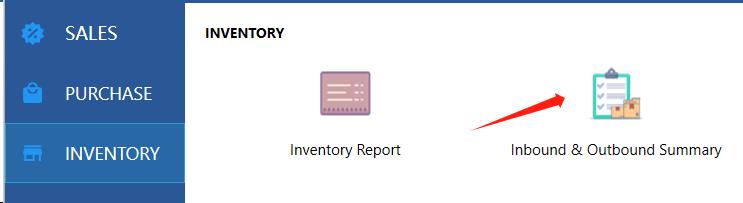
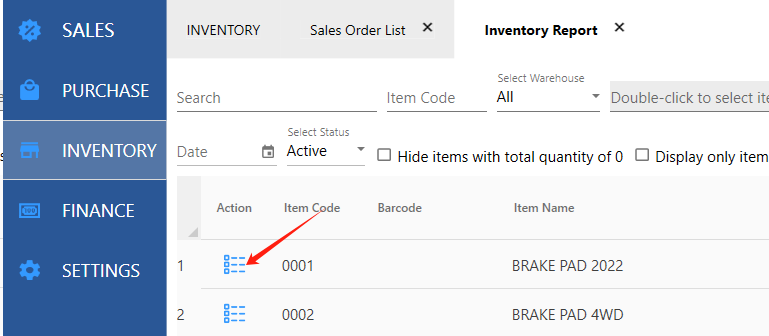
13.View inventory Qty & cost
[INVENTORY]-[Inventory Report]
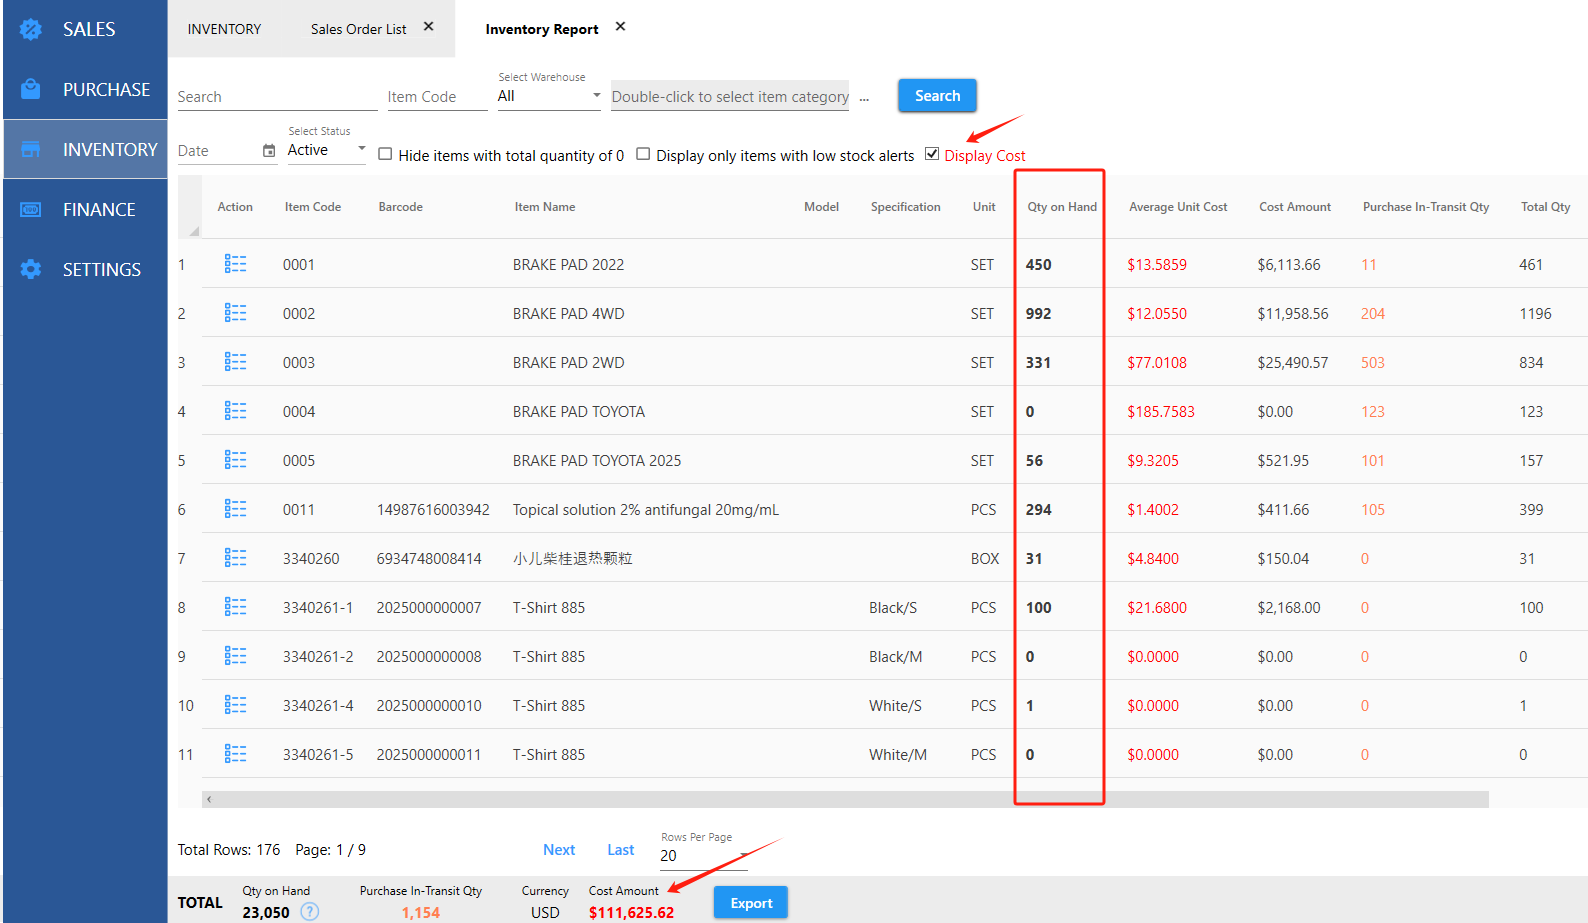
Inventory Details:
The inventory details can be used to check every entry and exit, and can also be used to check inventory problems and find out where the inventory problems
are.
14.Customized Printing Template
The printing template is in Excel format and is easy to modify. The computer needs to have Microsoft Office or WPS software installed.
[SETTINGS]-[Print Templates]
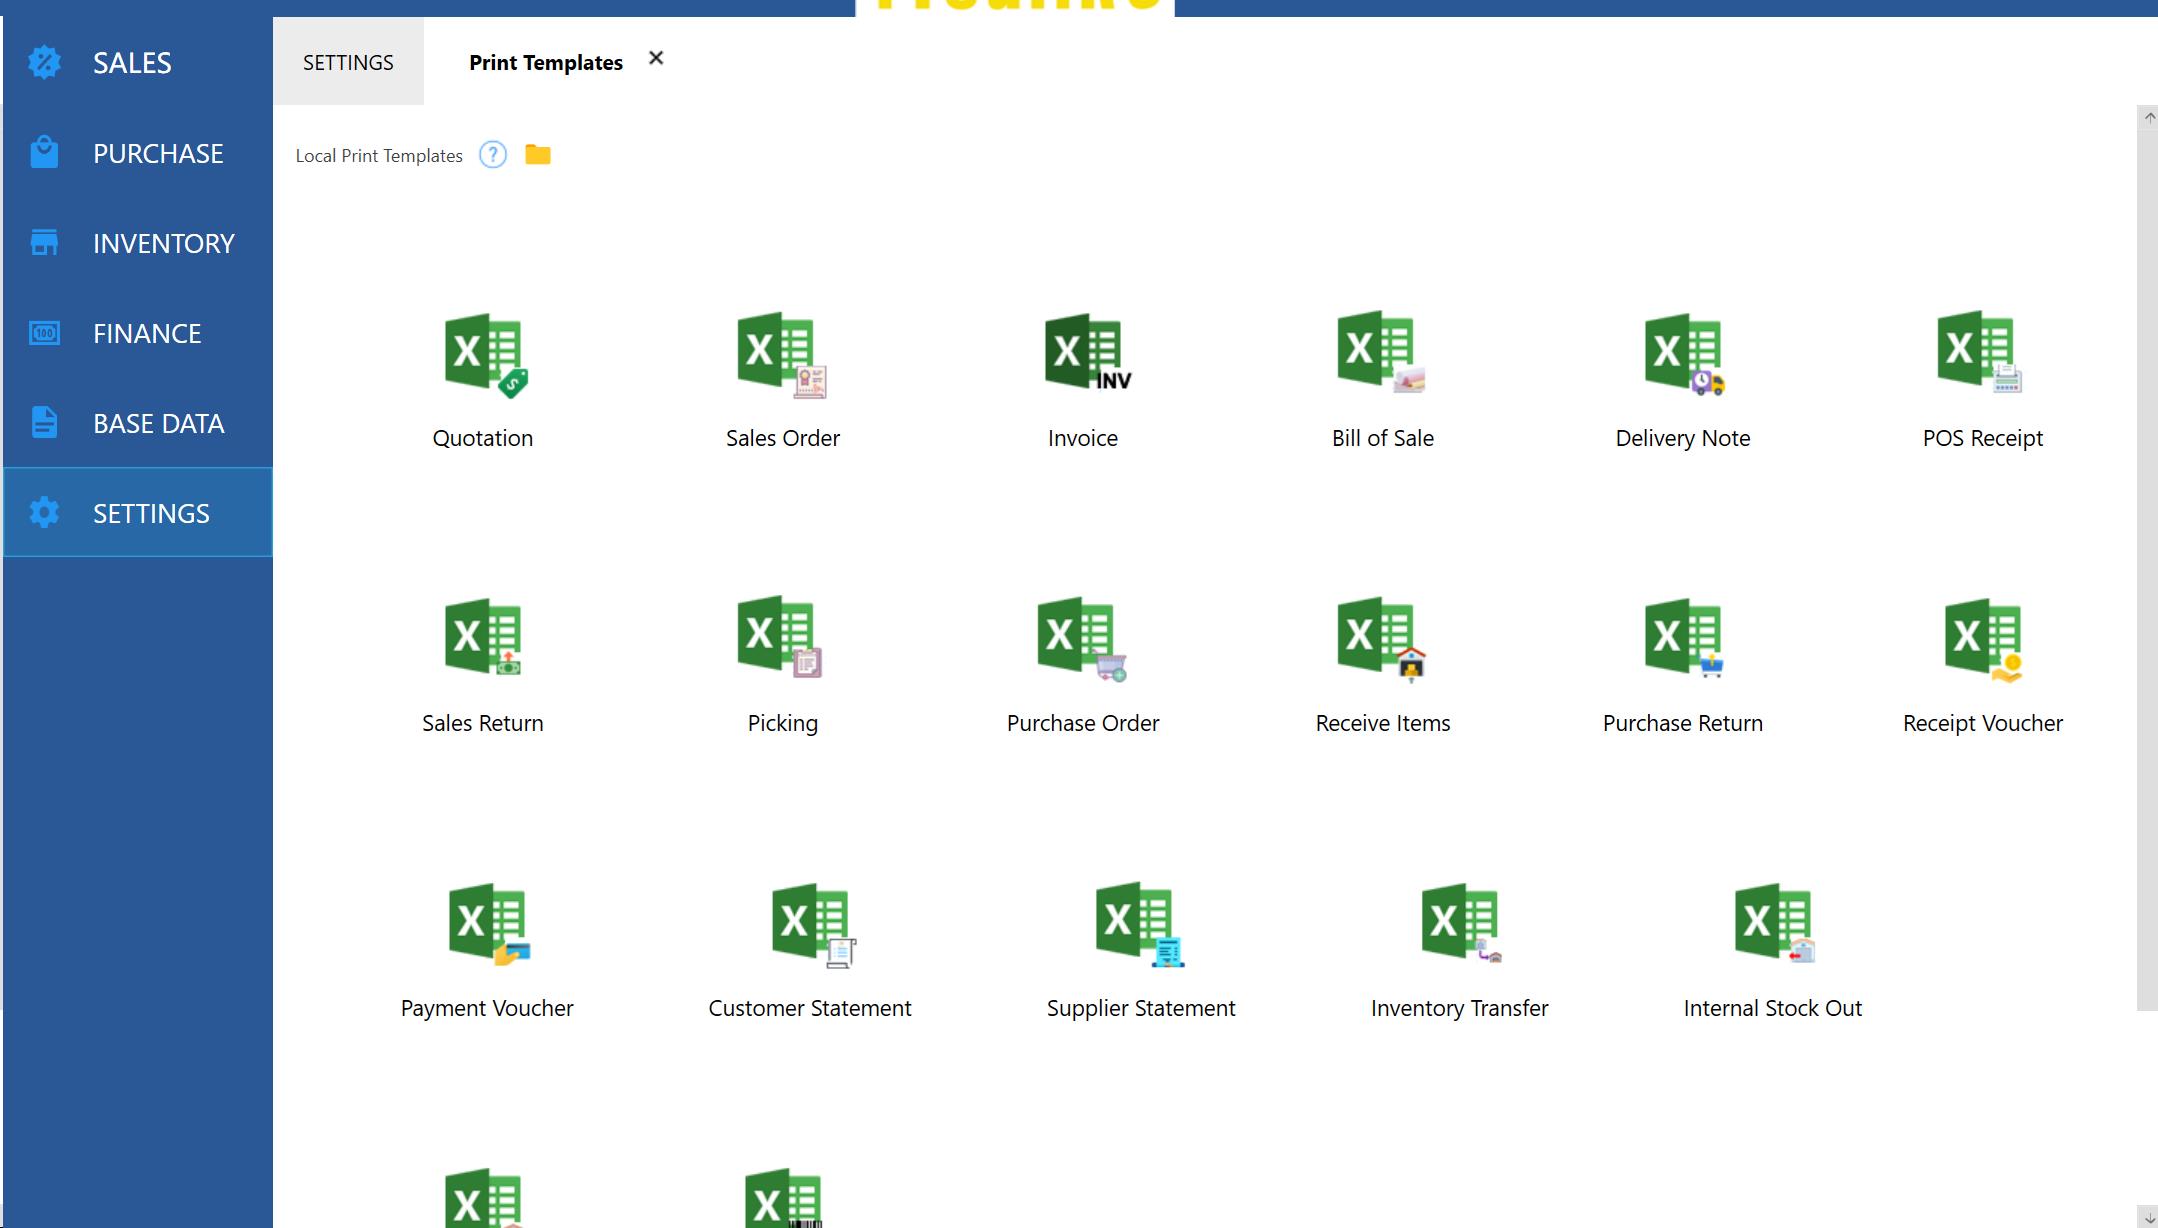
For details on modifying the print template, see 9.3Print Templates
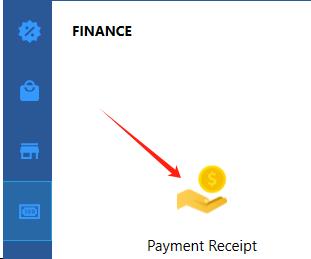
15.Payment Receipt & Payment Voucher
After receiving payment from the customer, you need to create a Payment Receipt to record it
[FINANCE]-[Payment Receipt]
When a payment is made to a supplier, you need to create a Payment Voucher to record it.
[FINANCE]-[Payment Voucher]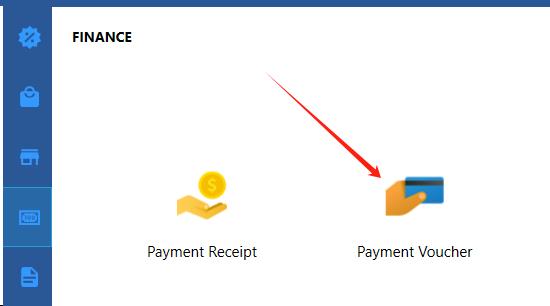
16.Receivables and Payables
View all customers' receivables:
[FINANCE]-[Accounts Receivable]
Customer Statement:
[FINANCE]-[Customer Statement]
View all supplier payables:
[FINANCE]-[Acounts Payable]
Supplier Statement:
[FINANCE]-[Supplier Statement]
